In this tutorial, we will make a Coin that can be collected by players.
Tip: If you can’t see the images below properly, Click and zoom on it.
Tip: Save your work everytime you reach the next step.
Things that you can learn in this tutorial:
- Making a coin
- Manipulating Shapes
- Creating Light Effects
Step 01:
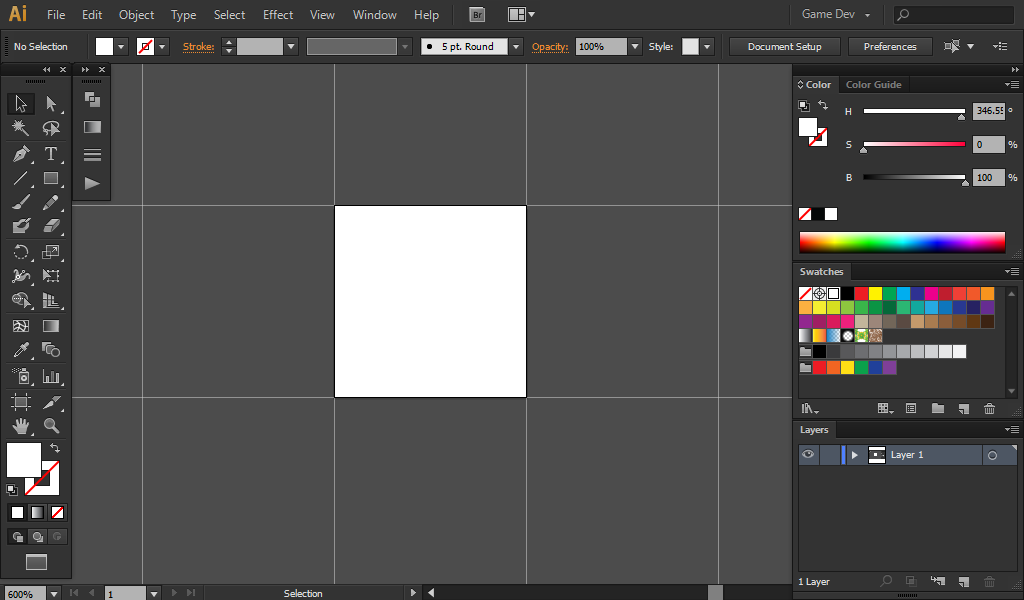
Preparing our workspace
Create a new document with a 32×32 size. Use grids if you want.
Step 02:
Starting our Coin
Using the eclipse tool, draw a perfect circle in our 32×32 Artboard.
Tip: Hold Shift to draw a perfect circle
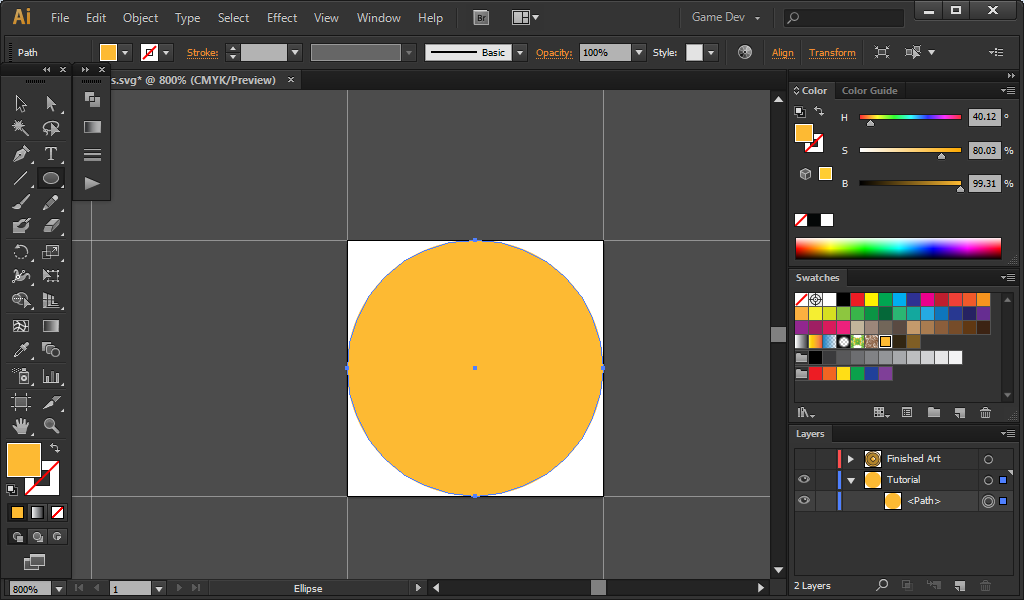
Choose a light orange for its fill color.
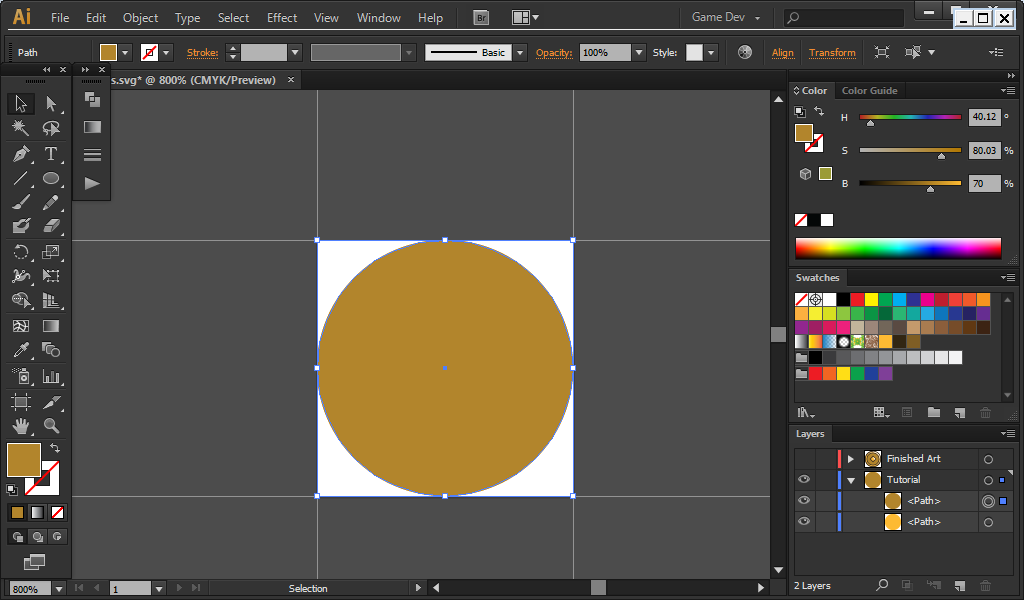
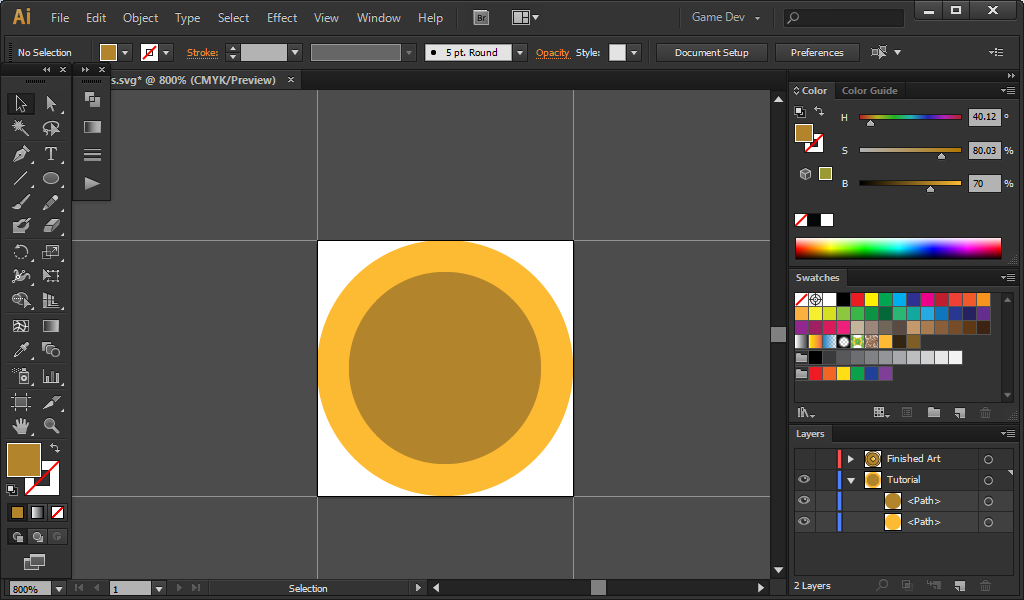
Then we will make the middle of the coin engraved. so copy the circle and paste it on the same position
Tip: Press ctrl + c to copy and then ctrl + f to paste it on the same position

Because its engraved, we need to change its current color to a darker orange. I change its brightness to 70
As you can see, the darker circle covers the coin. so we need to scale it down to the center.
To scale, Right click > Transform > Scale. We need to scale it to about 75%. so put 75 in the uniform in the scale window.
Then we will now put line strokes in the coin. Using plain black for the color of our stroke is not a good idea cause it will not blend nicely in our coin’s color. so we will recycle and use our light orange and just change its brightness to 20.
Tip: If you didn’t save your light orange in the swatch window, just use the color picker and pick it on the coin.

Do this with the middle circle also.
If the outer line stroke of your coin is oustide the artboard, then you need to align the stroke to inside. see below on how to align it.

On the stroke window, click the “Align stroke to inside” option
Step 03:
Finishing our Coin
Most coins have a symbol in the center, So we should have one too!
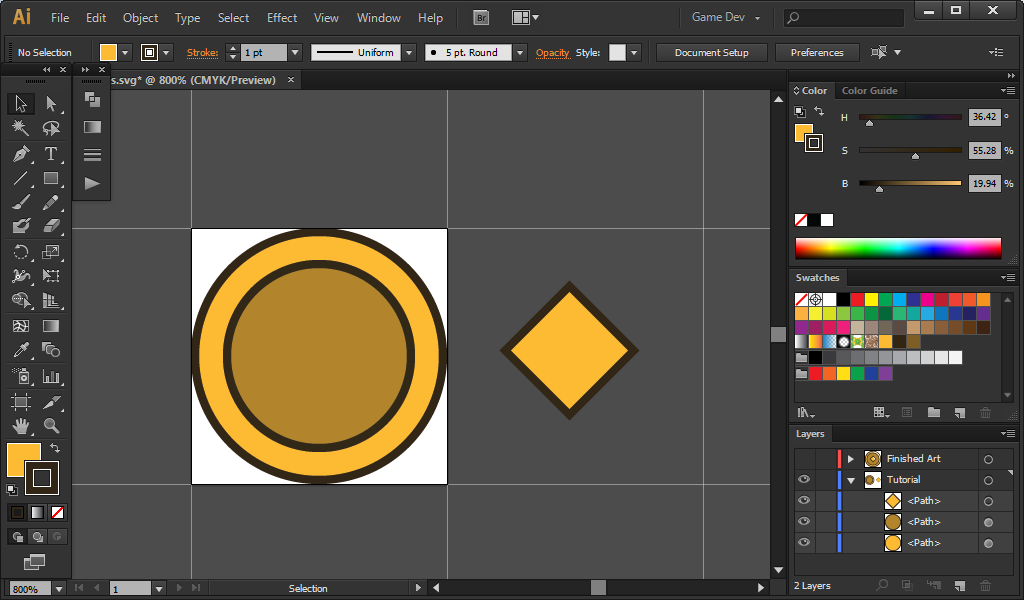
I decided to make a small diamond for the symbol, but you can make your own later if you want.
To start the diamond symbol, draw a small square besides the coin using the rectangle tool (M)
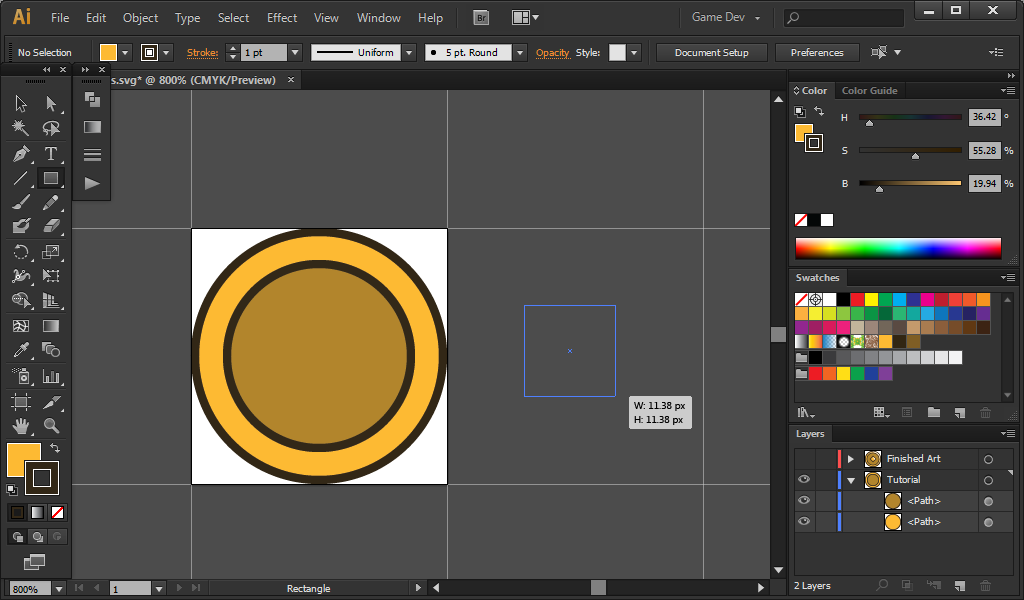
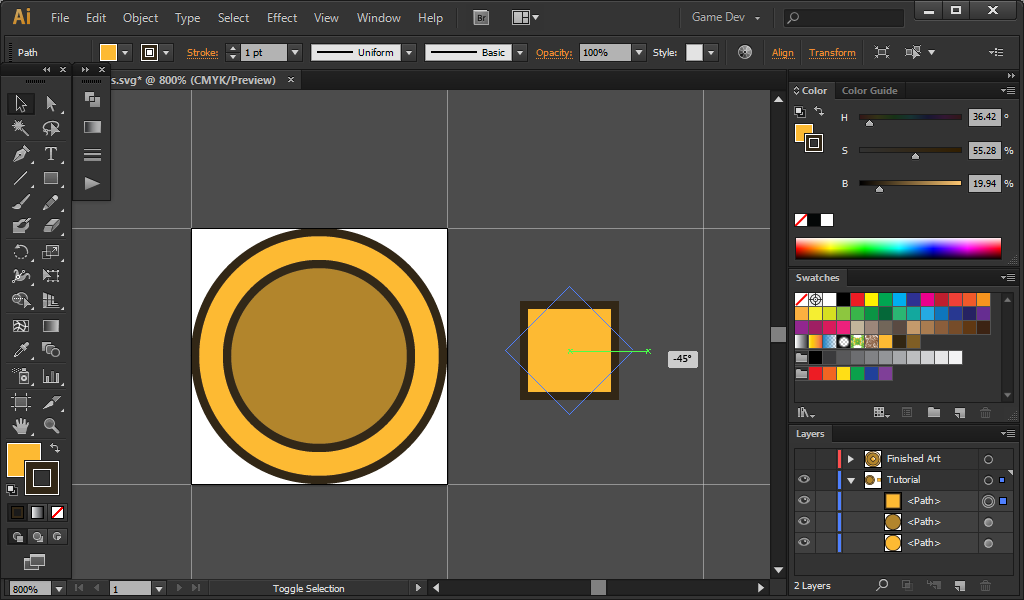
Then flip it 45° into a diamond
Next thing we need to do is to put the diamond to the center of the coin.
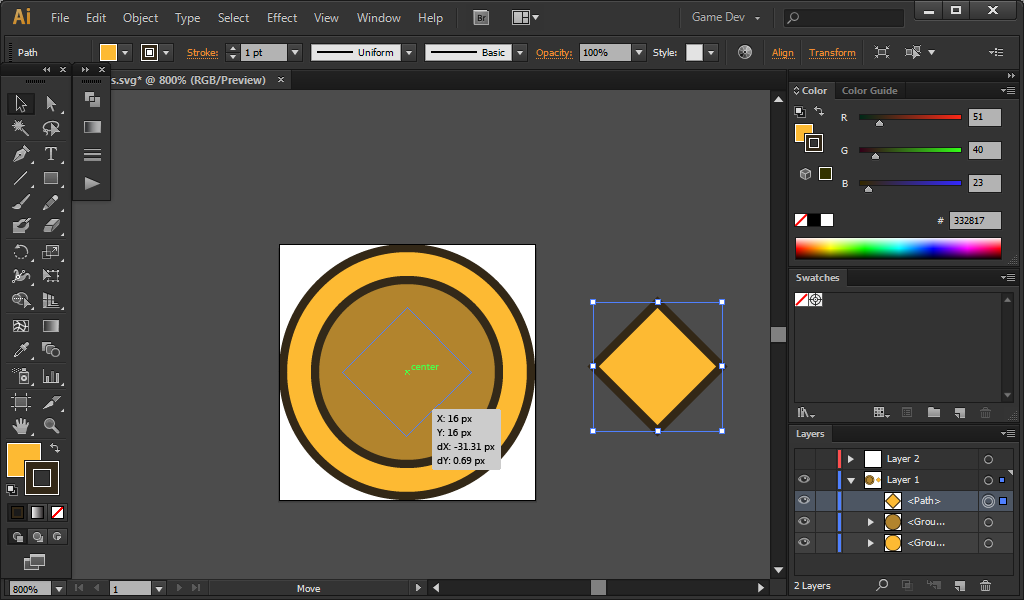
Then scale the diamond smaller so it would look good.
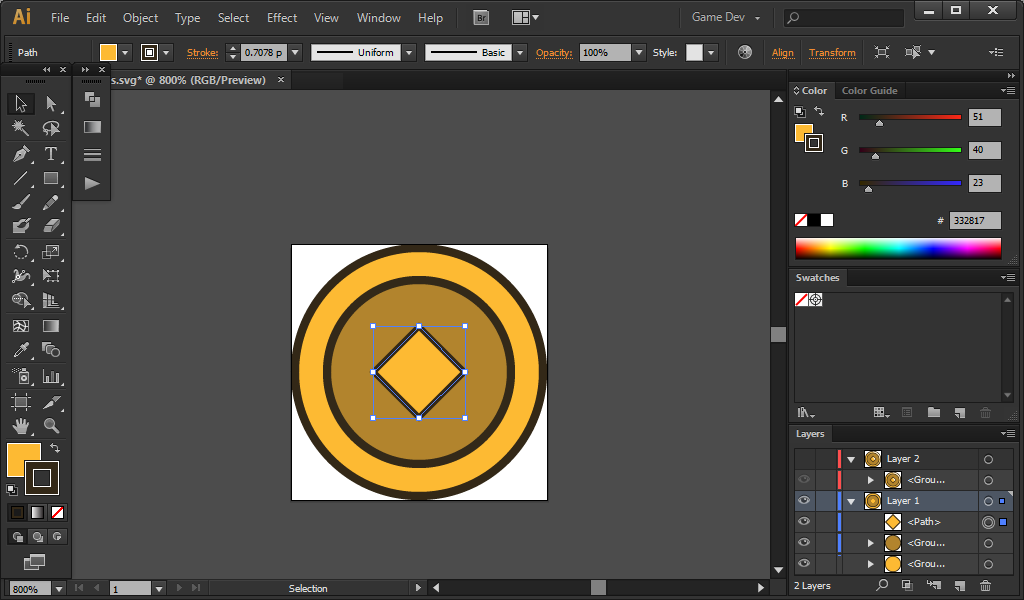
After you scale it, Fix the stroke weight to “1” again.
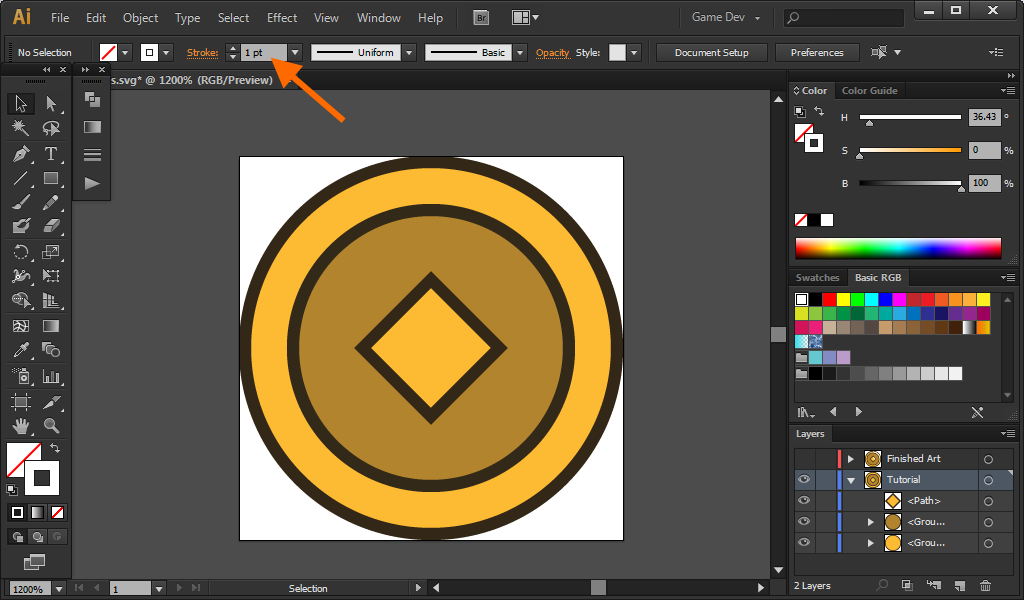
Step 04:
Light Effects
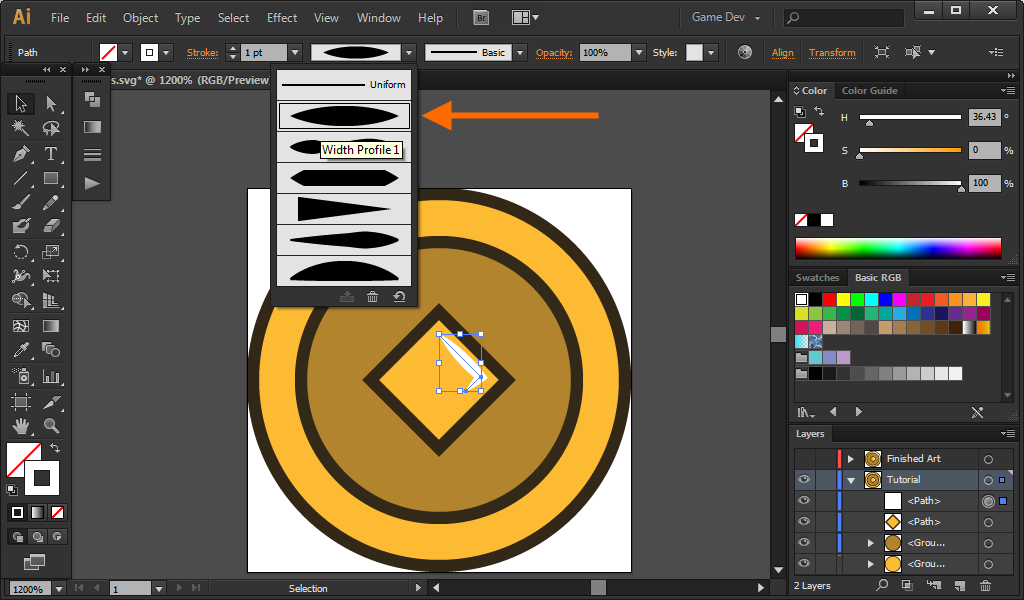
To start making the light effect, Draw a “L” shaped line in the diamond using the pen tool (P)
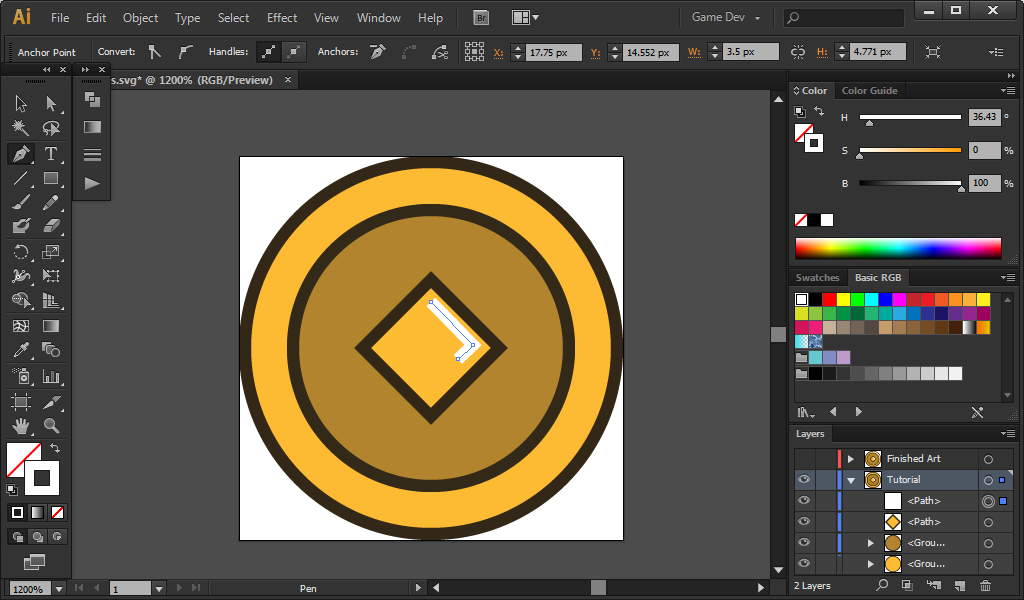
Then change its width profile to a better one.
The next thing we need to do is to make another light effect for the coin.
Make a curve line in the upper side of the coin using the pen tool (P)
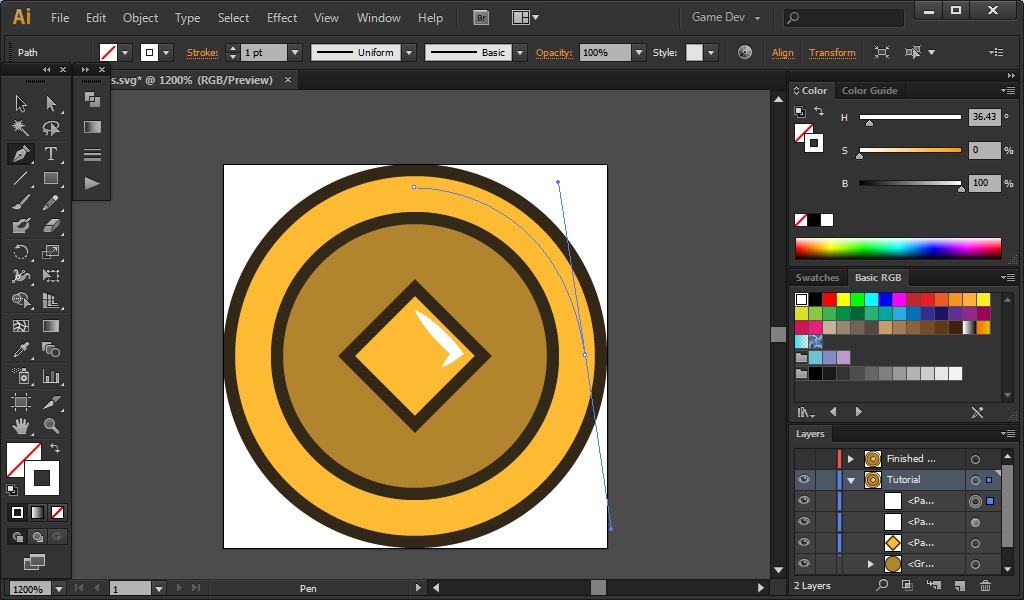
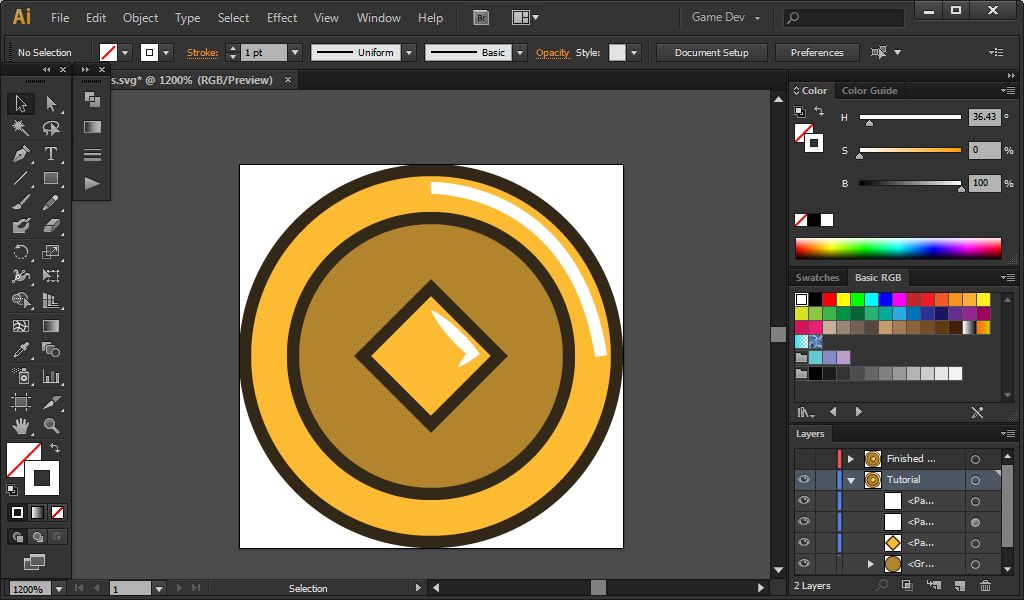
And again, change its width profile to make it better.
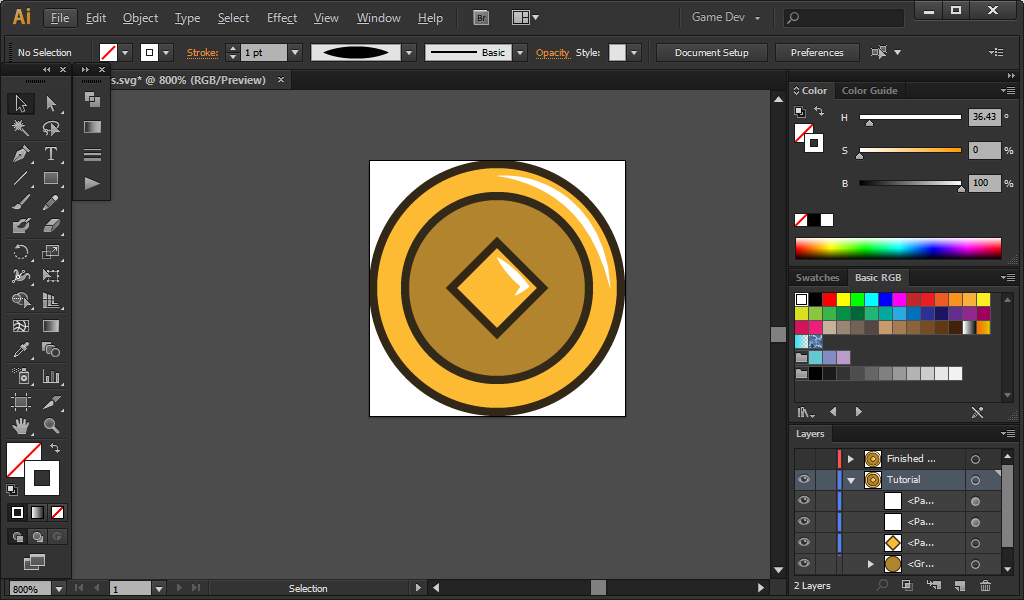
Now click ctrl + 1 to see the coin in 100%.
There we have it, A coin for players to collect. In just four steps.
If you have any questions, comments or suggestions, feel free to comment below or email me.
Follow me to received email updates about my latest posts and tutorials.
