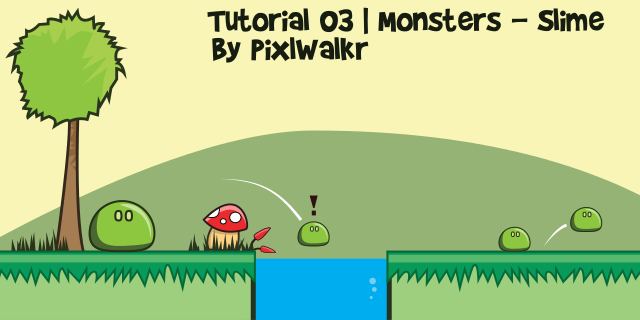
Create a slime that can be used as a weak monster.
Tip: If you can’t see the images below properly, Click and zoom on it.
Tip: Save your work everytime you reach the next step.
Things that you can learn in this tutorial:
- How to make a monster
- Creating a green slime
- Creating Shadows and Light Effects
Step 01:
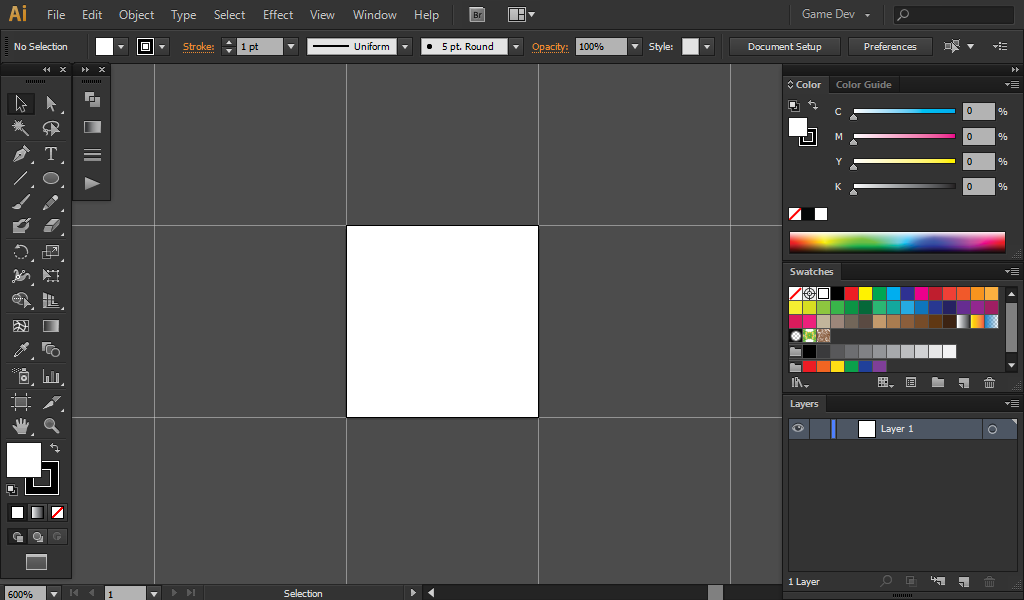
Preparing our workspace
Create a new document with a 32×32 size. Use grids if you want.
Step 02:
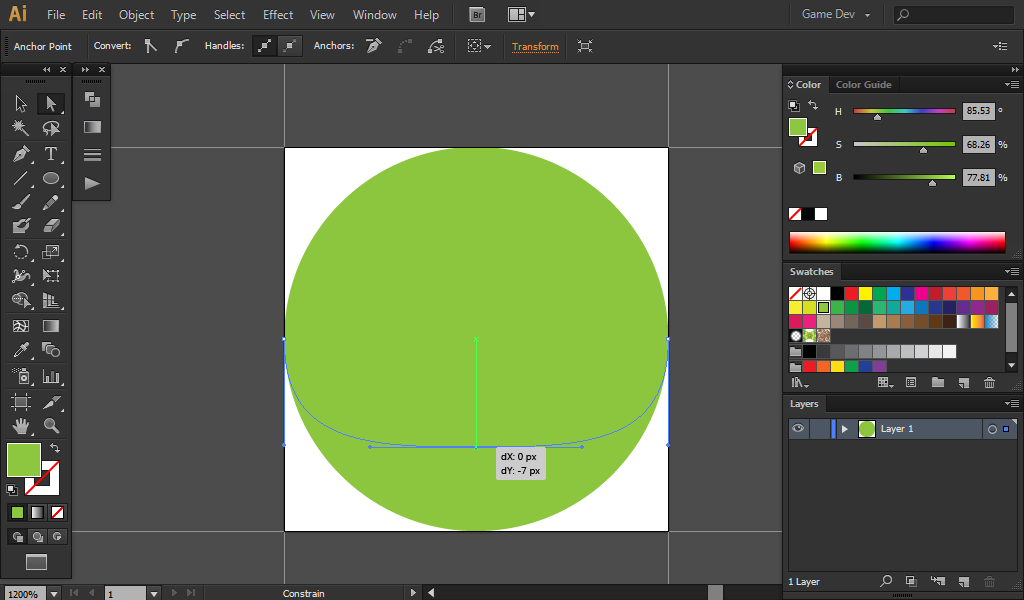
Creating the Slime
Using the eclipse tool, draw a perfect circle in our 32×32 Artboard.
Tip: Hold Shift to draw a perfect circle

Choose a light green for its fill color.
Then drag the lowest anchor of the circle upward to make the shape of the slime.
Tip: Hold “Shift” To drag straightly.
Tip: Drag the anchor upward until it is horizontally straight.

Now we will finish the slime’s Body by putting a dark green stroke.
Tip: Use the same light green color for the stroke, but change its brightness to 20% so the blending of the fill and the stroke is nice.

Don’t forget to select “Aligh stroke to inside” so the stroke would not overlap ouside the artboard.
Step 03:
Giving the slime some vision
Next thing we need to do is to create eyes for the slime.
Start by creating a small rectangle in the upper right side of the slime (This will be the slime’s left eye)

Choose a greenish white for its fill and the same dark green for its stroke.
After that, we need to tweak it and make its corners round.
Do this my selecting the anchors one by one and clicking the “Convert selected anchor points to smooth” button in the toolbar.


Now to do the other eye, Copy the finished eye and paste it on the same position, Then move it to the left by pressing left button 5 times.
Tip: Press ctrl + c to copy and then ctrl + f to paste it on the same position

And we now have a tiny slime, we will enhance it on the next steps by adding light and shadow effects. Don’t forget to save.
Step 04:
Light Effects
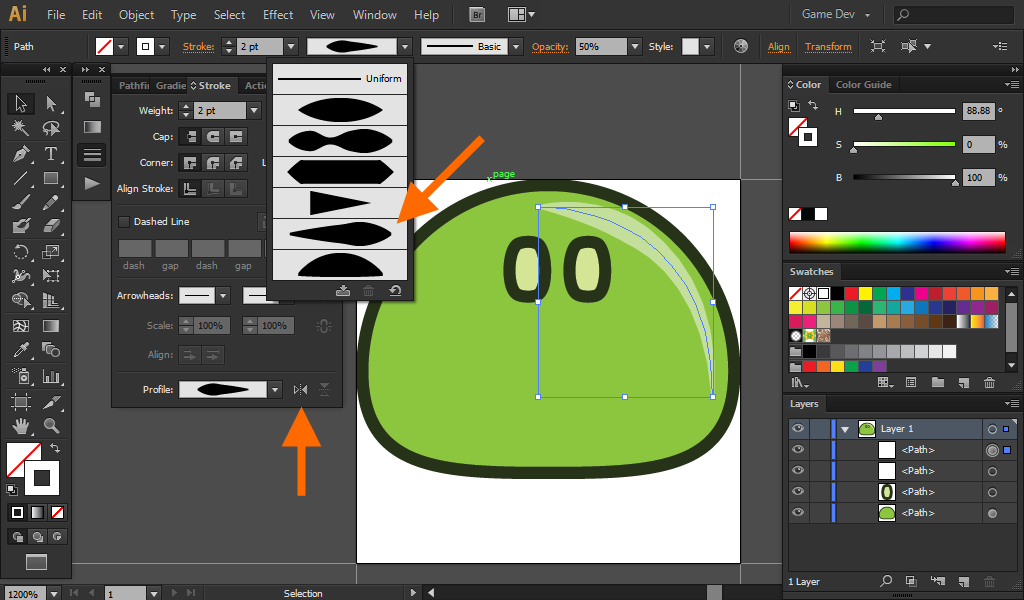
To start making the light effect, Make a curve line in the upper right side of the slime using the pen tool (P)

Make it thicker and lower its oppacity to make it better.

You could also change its width into a better one.
Tip: I choose width profile 5 and flip it
Step 05:
Creating a Shadow Effect
To create a shadow quickly, Copy the original object and manipulate it to make a perfect shadow.
To start this method, Copy the slime’s body, Drag, Then paste it below.
Tip: Holding “alt” while draging will copy and paste an object upon release. Holding “shift” will let you drag objects straight.

Then copy and drag again towards upper right, as shown below.

After that, Select the two objects and click “Minus Front” in the pathfinder window.
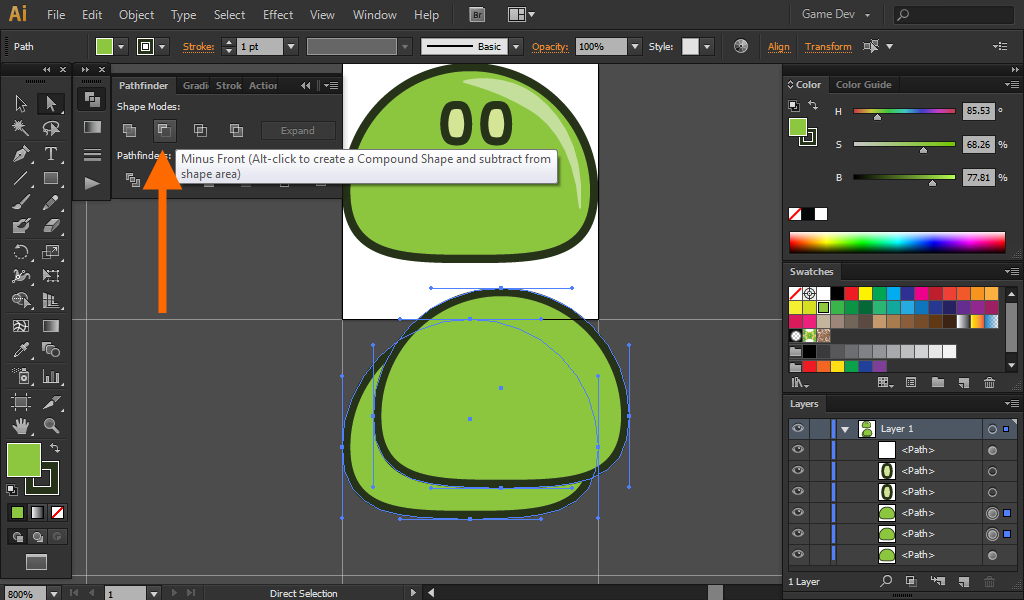
This will erase the object in front and what it covers below, leaving a sliced object.
This sliced object will be our slime’s shadow, so fill it with a darker color
Tip: Use the same light green but with a 40% brightness

Step 06:
Inserting the Shadow Effect
Now that we’re done in creating the shadow, we need to insert it to the slime.
To do this, Drag the shadow upwards until it is perfectly fit to the slime (As shown Below)
Tip: Hold “Shift” to drag straightly

When you release it, you will notice that the shadow is not right and it covers a part of the slime’s stroke.
To fix this, select the slime’s body and expand it. (Object > Expand Appearance)
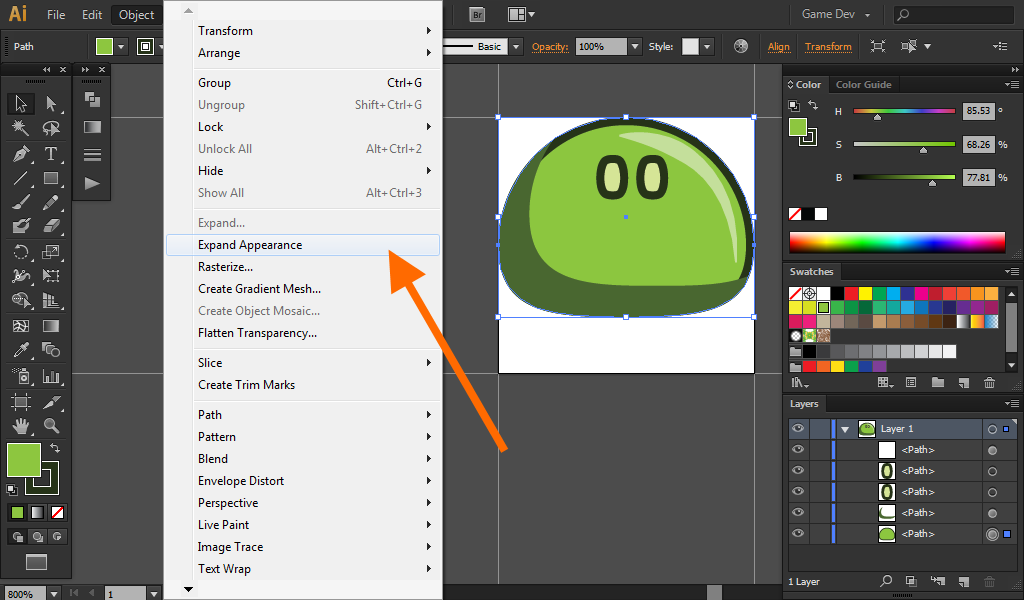
After you expand it, you’ll notice in the layer’s panel that the slime has been divided into 2, It’s fill and it’s stroke.
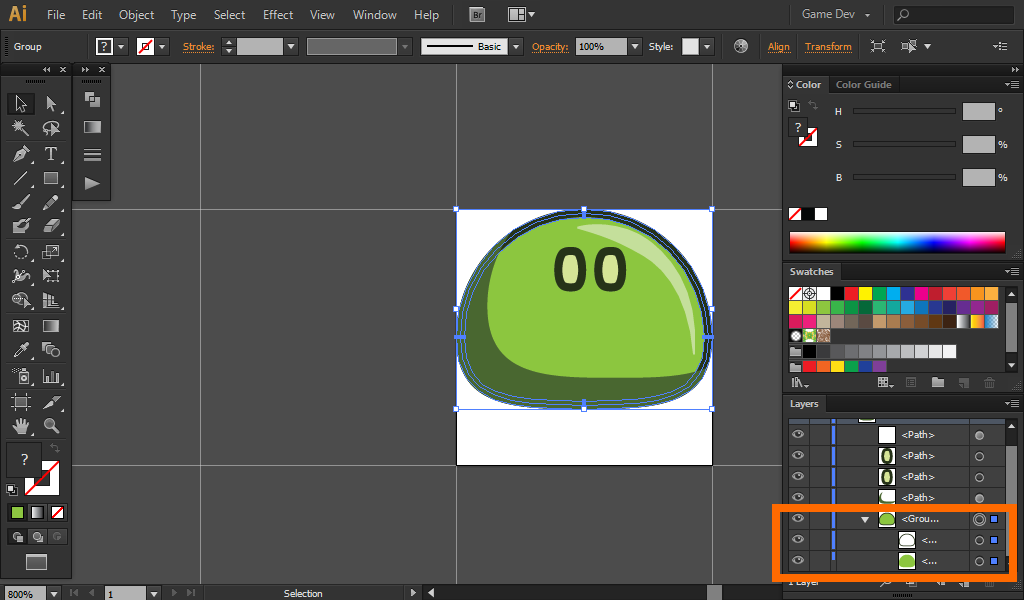
Now to insert our shadow.
In the layer’s panel, Drag the shadow to the middle of the slime’s fill and stroke as shown below.

If you’ve done it correctly, it will look same as below.

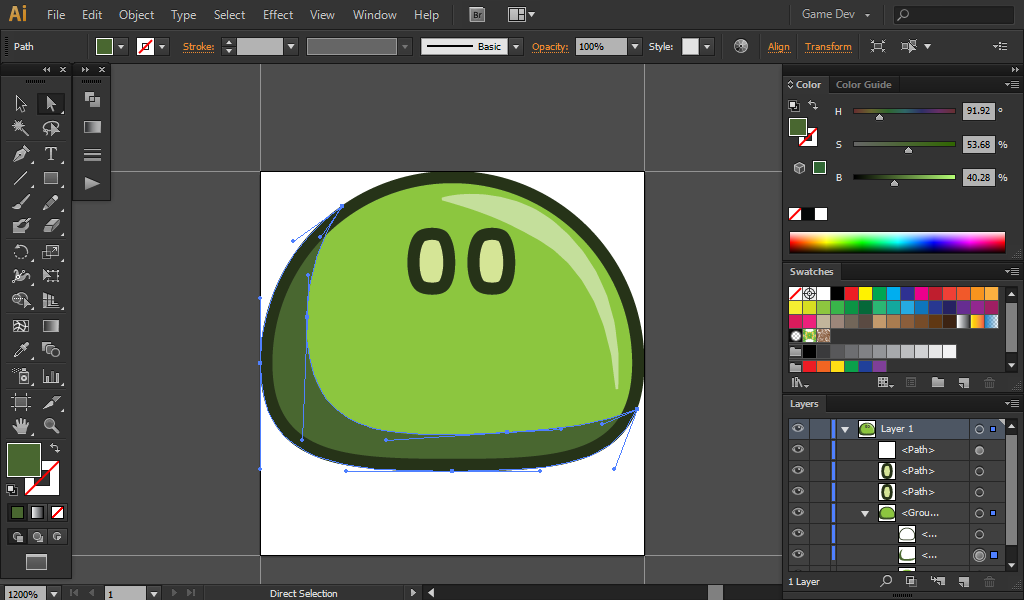
You could also spend some time tweaking the slime’s shadow by adjusting its anchors.
Step 07:
Finishing the slime
The last thing we need to do is to drag the slime downward until it colides on the bottom of the artboard.
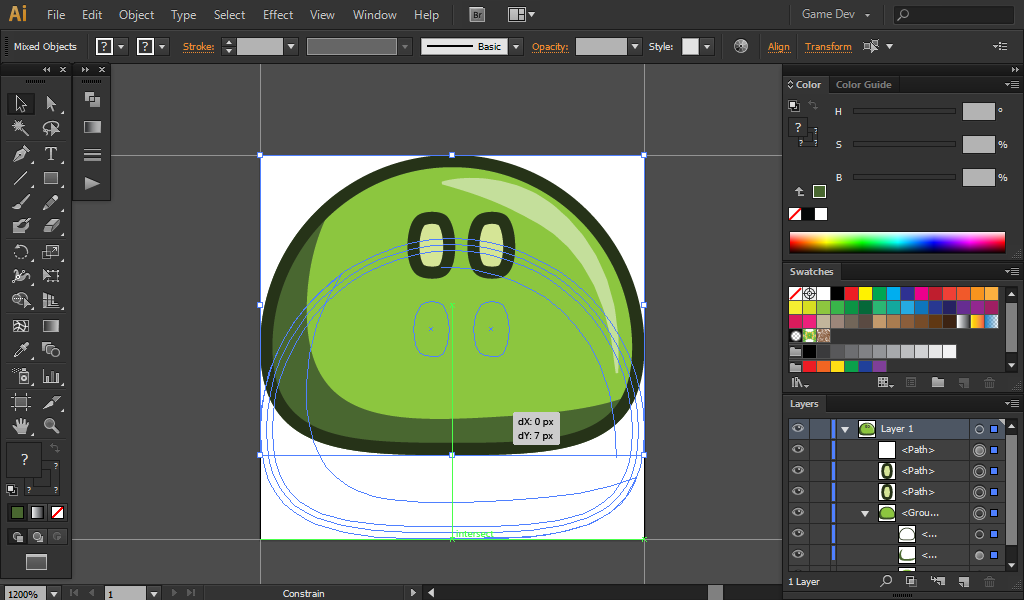
Now after you fix it’s position, Press Ctrl + 1 and ctrl + shift + H and stare at your finished slime!
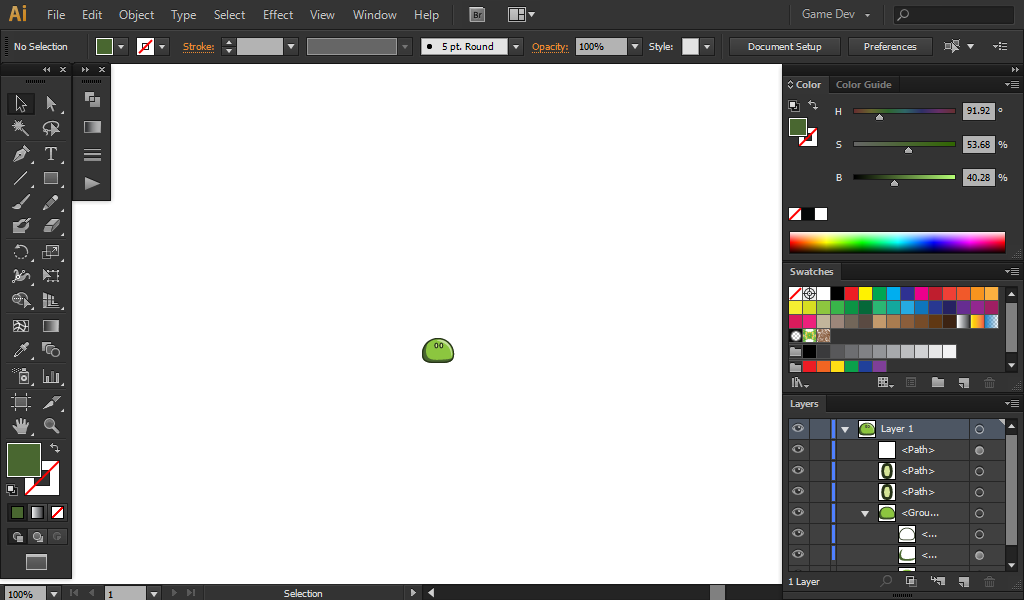
Congratulations! You now have a slime ready to wander around your game.
Tip: You could hold spacebar and drag anywhere in your workspace to have an idea how your slime would look like when moving and jumping around.
If you have any questions, comments or suggestions, feel free to comment below or email me. Thanking below If I helped you is much appreciated =).
Follow me to received email updates about my latest posts and tutorials.
