A quick and easy way to do a next and back buttons.
Tip: If you can’t see the images below properly, Click and zoom on it.
Tip: Save your work everytime you reach the next step.
Things that you can learn in this tutorial:
- How to make a Button
- Creating Light Effects
Step 01:
Creating the Button
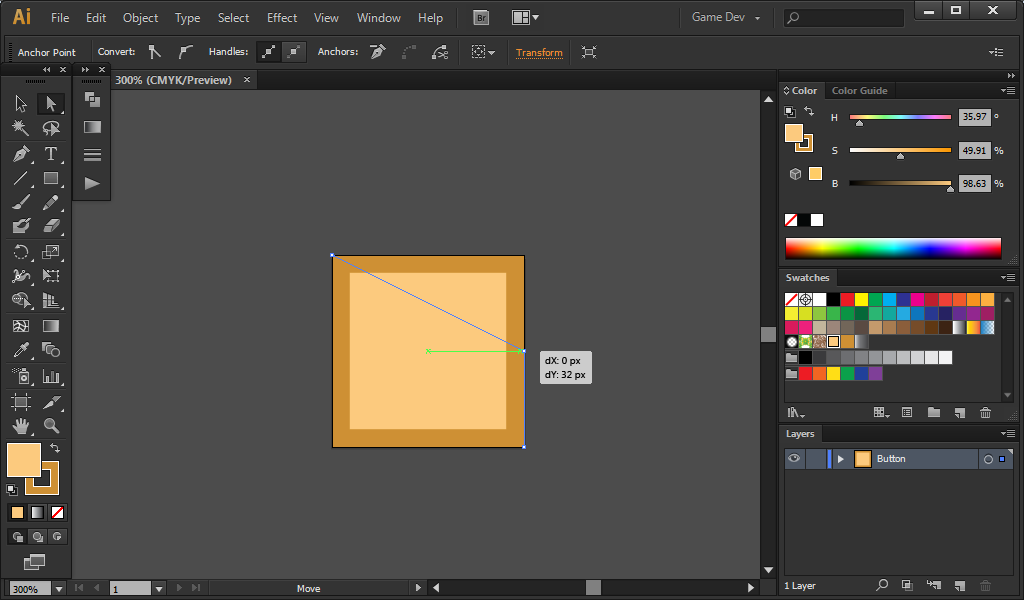
In a 64×64 artboard, create a perferct square using the rectangle tool (M).
Choose a light orange for the stroke and a lighter one for its fill. Make the stroke’s thickness to 5p
Tip: Use “Align stroke to inside” option so the stroke won’t overlap with your artboard.

Then Drag the 2 anchors on the leftside to center left. (As shown Below)

Step 02:
Light Effects
The next thing we need to do is to create a light effect for the button.
Using the pen tool, create a “Right Triangle” as shown below:

choose white for its fill and change its oppacity to 20%

Thats it! press ctrl +1 and ctrl + shift + H to view your work nicely.

Congratulations! You now have a button that has many uses.
Tip: Copy the button and flip it horizontaly to make a different button.
If you have any questions, comments or suggestions, feel free to comment below or email me. Thanking below If I helped you is much appreciated =).
Follow me to received email updates about my latest posts and tutorials.
